

If you didn’t already know this about me, I live in the strangest, most-perfect home for an artist. It is called a geodesic home, which is a round shaped home, made with a geometric pattern of triangles that all fit together to make a dome-shaped roof. You’ve probably seen one before, and probably wondered what it looks like inside, or who the strange people are that live inside. But it is perfect for an artist, or anyone willing to look outside the box (get it, lol) and the windows and walls are beautiful and unique. The only hurdle is that besides the laundry room, the small pantry, and two of the bathrooms, there are no rectangular rooms at all. The rest of the bedrooms and living spaces follow the curvature of the outer walls, and if you took an eagle eyed- x-ray view of the house from up above, you would see that all of these remaining rooms are somewhat wedge- shaped, and basically made to just fit the space but not to make anything easy for decorating or hanging shelves on the wall. If you are the type of person that likes things straight, you would hate this house. I’m pretty sure that my gallery wall in my living room, on the curved part of the wall- would drive a perfectionist bonkers because it’s only at the perfect angle that the pictures are lined up straight. In fact, i should use my curved walls to stage interventions for friends that need perfection in their life. It’s all okay, and I promise you can live with the imperfections. Because that is the essence of the human touch in art, that perfection is reserved for the work of God, and without a tiny bit of imperfection, there is very little evidence of character. So I like my curved walls. For the most part.
My studio is in the basement, which is great because at 4:30 in the morning, when no one else is awake, I can be down here working and creating in a totally clear headspace with no one asking me for anything! It really is the golden hour for me, to spend some time creating before getting ready for work.
But, my studio, while large enough, definitely falls into one of those wedge shaped weird rooms, and being an artist that works in a variety of mediums, I have lots of interests, and therefore I have lots of places where I can land and make something. I have a large table, where I can spread out, or the kids can each have a spot. There is a wheel to throw pottery. Cabinets with shelves full of supplies, and an easel for the kids when they want to work alongside of me. And I do have a portable easel that I get out, and can work on the table if I want, or on the floor, depending on what it is; but I realized I wanted a space to work on the wall, so that I could do something a bit larger, and then portable so that I can move it out of the way. Because we have some strange spaces to utilize, bulky furniture is not going to fit well, and I just like space to move around.
That is where IKEA came in. I recently went to the grand opening in Grand Prairie, Texas. It was so much fun. I took the day off of work and took my youngest with me while sisters were at school. It was definitely a great, and I didn’t even know I was going to be finding such a treasure. Along with the dozens of other things that we got that promise to make my life totally easier, I found this…..

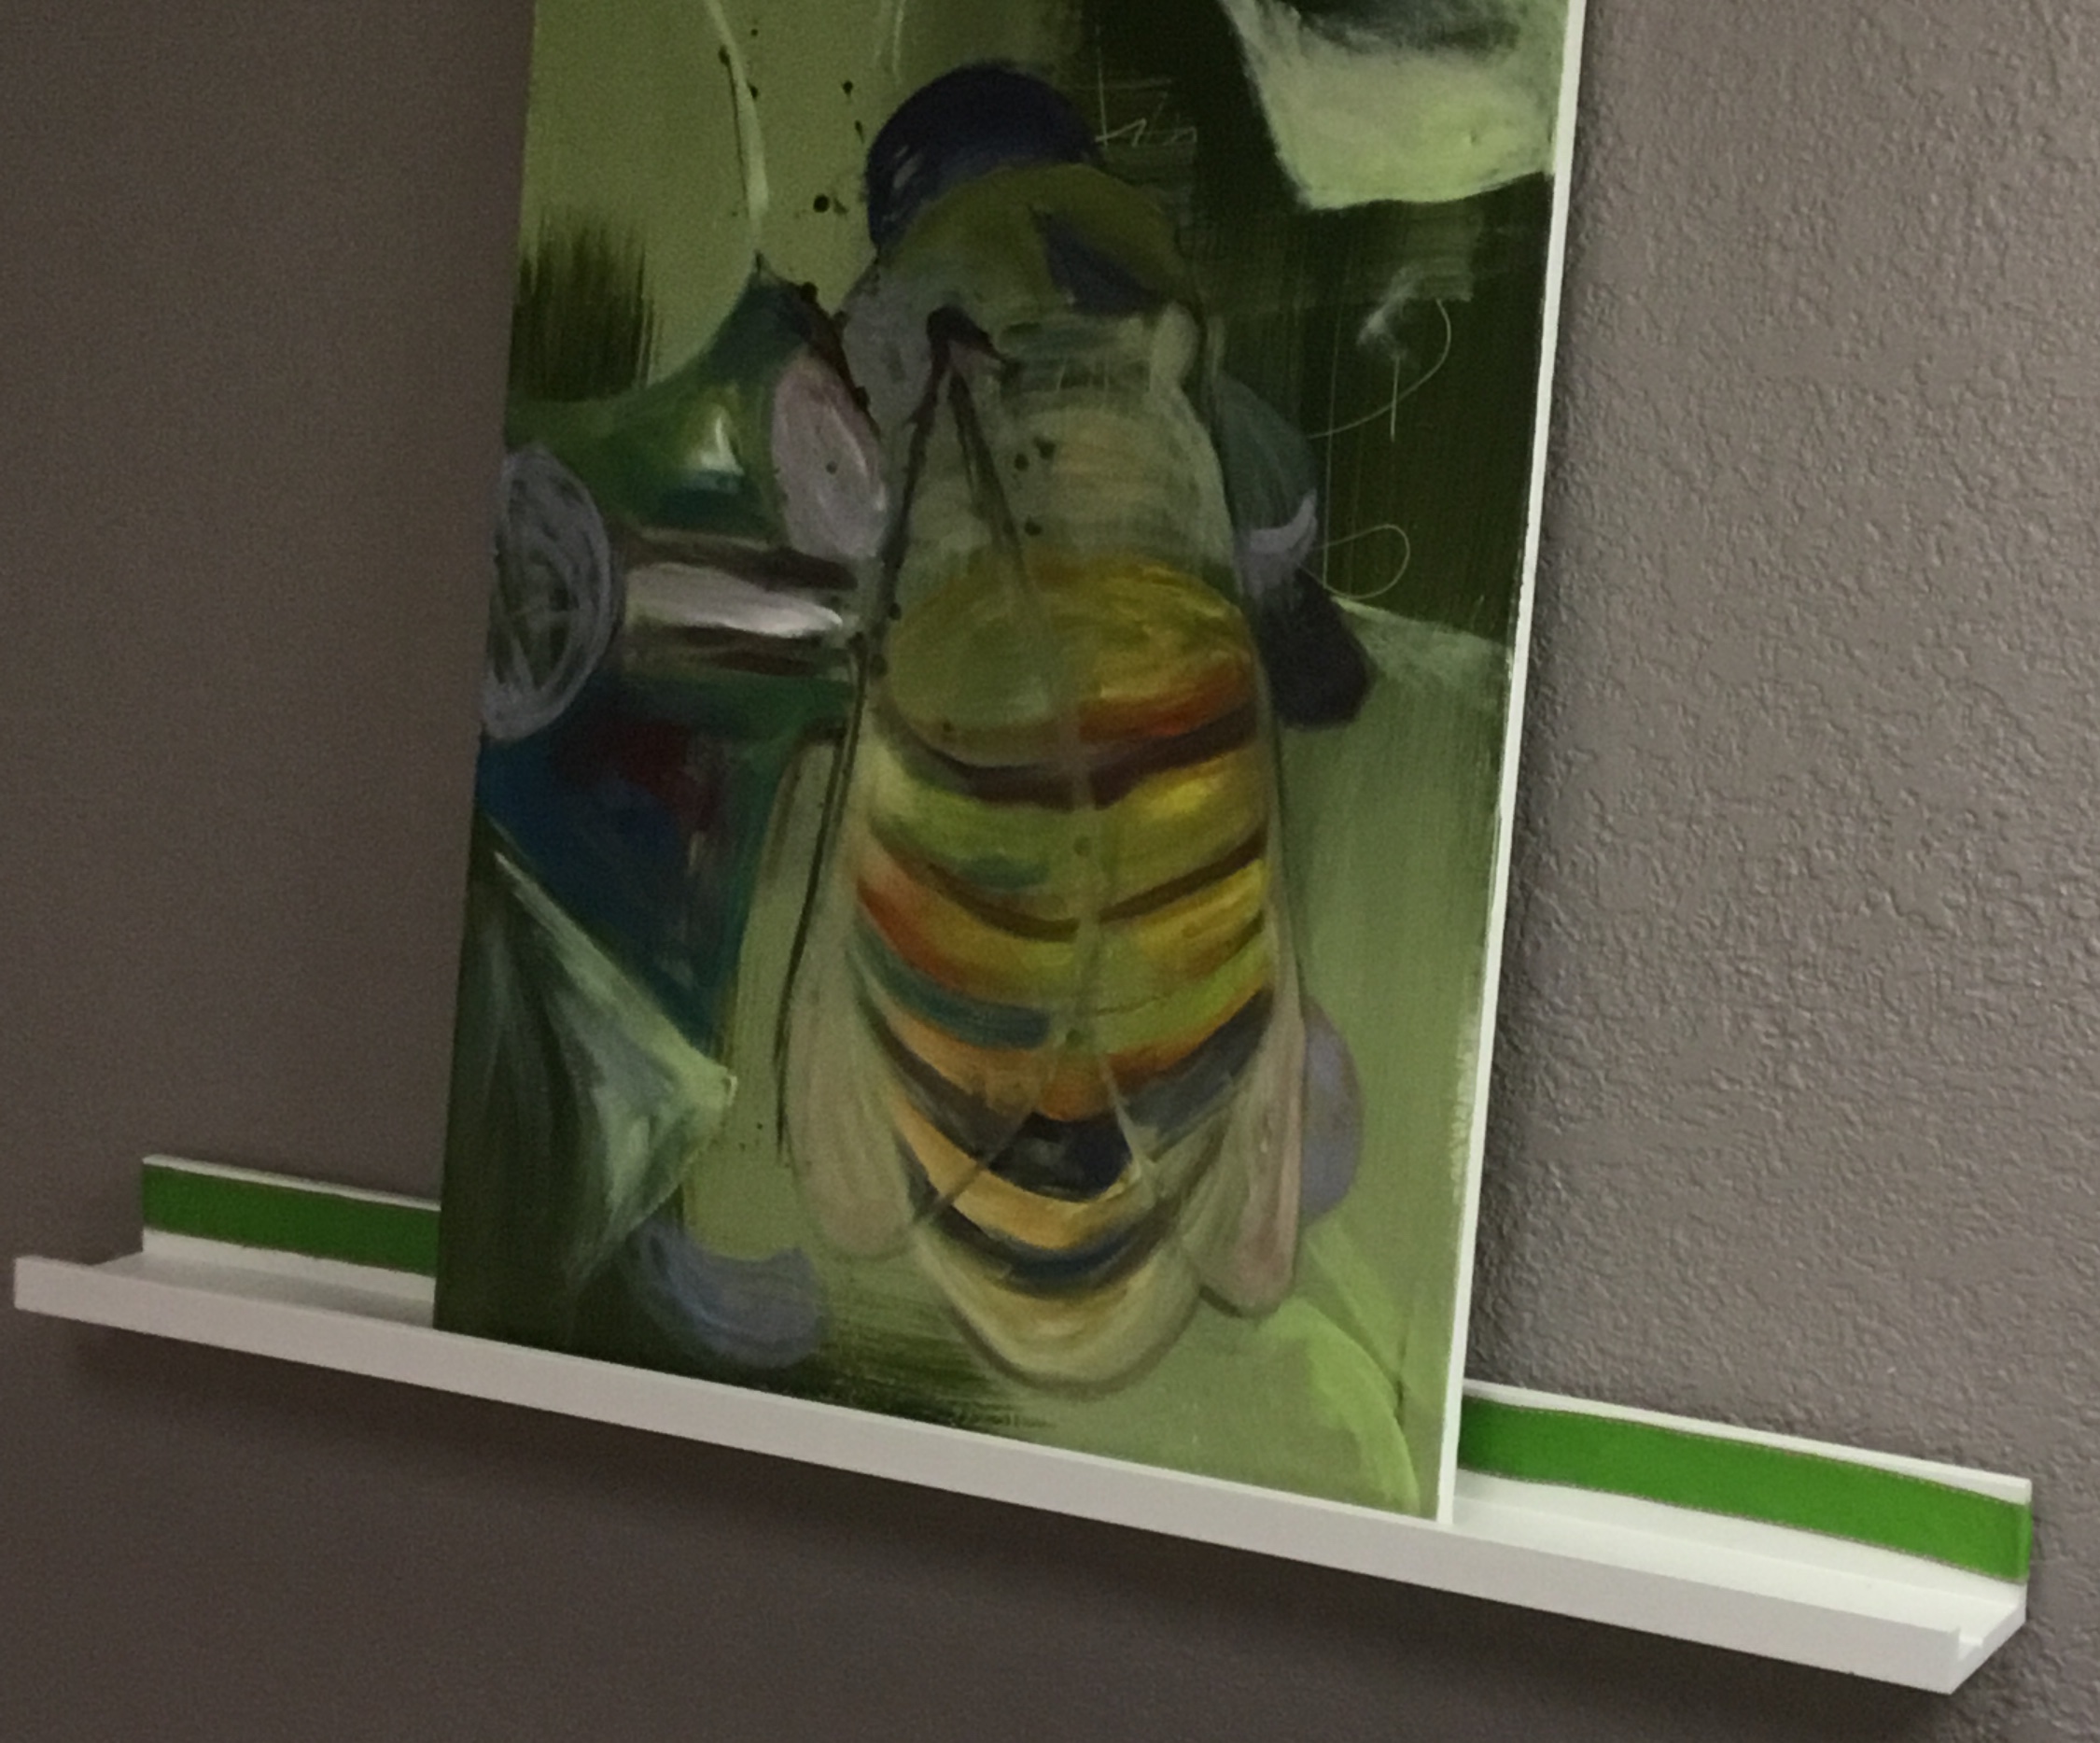
It’s a shelf. But it is huge!
Look how tall that is! I can paint something on a large canvas with that shelf! The thing I liked about it was that the ends, while in this picture seem like they have a cap on them, they are open ended- that is just cardboard to protect the ends there. So, I am not restricted by length! My canvas can overhang if I need it too! Artist goals, right?
Now, while I was pondering my wall easel struggle before that IKEA trip, I had envisioned that it would be nice to have something that is adjustable in height. Which meant that I needed to alter this project a bit, and not quite make it a permanent attachment to the wall.
Which brought me to Home Depot. (I totally do not get paid to talk about these stores. I would tell you if I did.) But I definitely shop there, and I wanted to share with you. Home Depot (and probably Lowe’s, or whatever big box hardware store is near you) has a wall hanging section, and in it, they have these things, by a company called Ook.

It’s called a “Picture Hanging System”. Pretty creative. They run about $18 for this system- I got the longest one I could find- and it will hold a few hundred pounds according to the package. It’s magic. Or physics. Both are beyond my brainpower to understand, but it really makes for a sturdy easel now that it is all together.
I opened the picture hanging system and it comes with these supplies:

I just had to supply the screwdriver! And it wasn’t even electric! The package came with these long metal bracket things, some black wood screws, silver “walldogs” which Is just a fun word to know, a tiny level, and that is it; instructions are on the back of the package. The next step, was to attach the correct bracket to my shelf unit. The smaller of the two metal brackets goes on the back of the shelf, and you want to position it in the correct way on the back of the shelf so that will now have a long hook-like piece that will settle nicely over the part that goes into the wall. I’m a visual person, so here is what I am talking about, in pictures….
Wow, there are some random things in my studio. What do you notice? 🤪

You can see, in the first picture that I screwed the metal bracket onto the back of the wood shelf. Now, the wood screws are just slightly longer than the depth of the wood on the shelf, so I used my painters tape to lift and support the shelf right where I was putting the screws; I didn’t want to make holes in my table. I know they will need covered when I am done, but for now, with the screws equally spaced on the bracket, I am done with this part. Can you tell where it has a built-in overhang? I have that lined up with the top of the shelf piece, and we are looking at the back of the shelf. What you are seeing is what goes against the wall.
For the next step, I had to put a bracket on the wall, and I wanted to make sure that I measured to fit it on the wall, and that the door will open, and that it is evenly spaced. So I used very technical process of measuring that was really complicated. Kidding. I marked the wall with sidewalk chalk. Easy. 
There are two chalk marks. You can decide where yours goes. I just wanted one on each side of the shelf for spacing, and I knew the level would work to get it all straight. I just had to decide how far down on the wall I wanted it to be. I happened to choose a height that clears my children’s heads right now. Bonus! They hopefully won’t run into it. Yet.
Next comes the step where we affix the bracket onto the wall. I used some blue painters tape to hold things in place. But honestly, it was not necessary. If you use your walldogs (pure joy in saying that word, by the way), start in the middle of the bracket, and get it close to the height you want it to be at. Now, if you are doing this with a perfectionist attitude, you can absolutely break out the measuring tape. But for my purposes, I didn’t need perfection. Even though it ended up pretty perfect, if I do say so myself. 
See, ‘x’ marks the spot! And the tape is useless. Just screw your first walldog into the wall at center of the bracket. You will also notice that there is a channel on this bracket. The channel is the bottom edge of the picture hanging system, and you want to insert your tiny little level into the channel and position the bubble between the lines adjusting the bracket up or down from either side until the bubble shows that you are level.

Once it is level, screw the rest of the walldogs through the bracket and into the wall. Now, if you are living in a crazy home Iike mine, you might notice that your wall is not even perfectly straight; our wall curves a bit. This wall that is part of the interior of the room, and should be a flat, straight wall. Huh. That’s strange; and a bit frustrating all at once, lol (they had one job!). So I just took a bit of scrap insulation and put it between the wall and the bracket as I screwed that part of the bracket into the wall. It is really important to keep the bracket as flat as possible. And with a curved wall, you don’t want the bracket to be curved on the wall, while the one on the back of your shelf is perfectly uncurved. They both need to be flat in order to fit the shelf piece over the bracket.

And that is exactly what I did here! The shim keeps the bracket from curving. Screw it in place, and then use as many walldogs as you had in your package until the bracket is secure. It is pretty sturdy! Now, take your shelf, and fit the two brackets into place!

Slide it right on!

I do not like the screws that have popped through. But I will be using this to paint and draw on, so, no need to fret. I will just cover them with some of that handy painters tape so that the points don’t poke through, and then I will cover with ribbon using hot glue!


It doesn’t have to be perfect. In fact, colorful duct tape would have worked just fine! Or white. Or shorter screws!


I think it looks great. And, when I am working on something smaller, I can just add a second bracket to the wall and move it up a foot or so. Or a series of brackets! Moveable and portable! I love it!


